Getting Started with Pour-Over Coffee
A beginner's guide to the art of pour-over coffee. This guide covers the essential equipment you'll need and provides a basic step-by-step recipe to brew a clean, clear, and flavorful cup.
What is Pour-Over Coffee?
Pour-over is a manual brewing method that gives you complete control over the final cup. It involves pouring hot water over a bed of ground coffee in a filter. The water extracts flavor as it passes through the grounds and drips into a carafe or mug below.
Unlike automatic drip coffee machines, the pour-over method allows you to control variables like water temperature, pouring speed, and pouring pattern. This level of control is why it's a favorite among coffee enthusiasts. It's renowned for producing an incredibly clean, clear, and nuanced cup of coffee that highlights the delicate and complex flavors of high-quality, single-origin beans, especially elegant varieties like Typica or the famously floral Geisha.
Essential Equipment
To get started with pour-over, you'll need a few key pieces of equipment.
-
A Pour-Over Dripper: This is the cone-shaped device that holds the coffee and filter. There are many popular styles, each with a slightly different design:
- Hario V60: A classic cone-shaped dripper with spiral ribs, known for producing a very clean cup.
- Kalita Wave: A flat-bottomed dripper with three small holes, known for its consistency and ease of use.
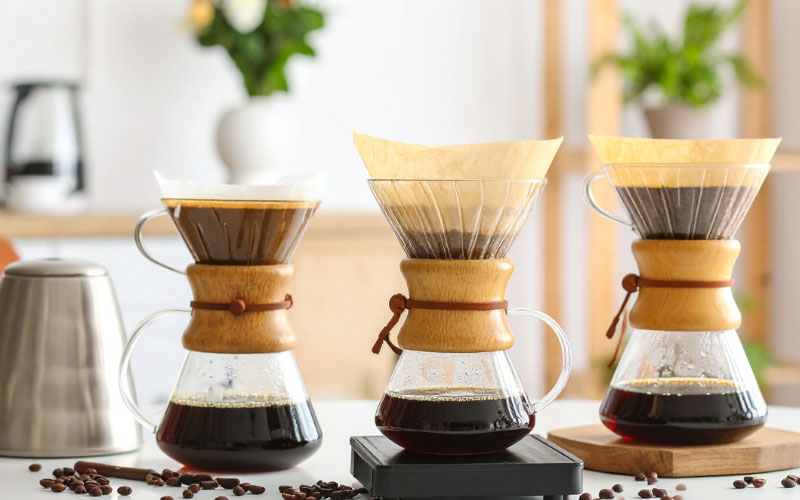
- Chemex: An elegant all-in-one brewer and carafe that uses a special thick paper filter to produce an exceptionally clean brew.
-
A Gooseneck Kettle: This is arguably the most important piece of equipment. The long, narrow spout of a gooseneck kettle gives you the precise control you need to pour the water slowly and evenly over the coffee grounds. Using a regular kettle will make it very difficult to get a balanced extraction.
-
A Burr Grinder: A consistent, uniform grind is essential for an even extraction. A burr grinder is a must-have for any serious coffee brewing. For pour-over, you'll want a medium grind, similar to the texture of coarse sand.
-
A Digital Scale: To achieve consistent results, you need to measure your coffee and water by weight, not by volume. A digital scale that measures in grams is a crucial tool.
-
Paper Filters: Make sure you get the right size and shape of filter for your specific dripper.
A Basic Pour-Over Recipe
This is a great starting recipe that works well with most pour-over drippers.
Ratio: 1:16.7 (30g of coffee to 500g of water) Grind: Medium Water Temperature: 195-205°F (90-96°C) Total Brew Time: 2:30 - 3:30 minutes
Step 1: Rinse Your Filter and Preheat
Place the paper filter in your dripper and set it on top of your mug or carafe. Pour hot water over the filter, thoroughly saturating it. This does two things: it washes away any papery taste from the filter and preheats your brewer and vessel. Don't forget to discard the rinse water!
Step 2: Add Coffee and Bloom (0:00 - 0:45)
Place your whole setup on the digital scale and tare it to zero. Add 30g of medium-ground coffee to the filter and give it a gentle shake to level the bed.
Start your timer. Pour 60g of hot water evenly over the grounds, making sure to saturate all of them. You will see the coffee start to bubble and expand—this is the bloom. Let it bloom for 30-45 seconds.
Step 3: The Main Pour (0:45 - 2:30)
After the bloom, begin the main pour. Pour the water slowly and evenly in small, concentric circles. Try to avoid pouring directly onto the filter. The goal is to maintain a consistent water level throughout the process. Continue pouring until your scale reads 500g. This should take about two minutes.
Step 4: Let it Drain and Enjoy
Once all the water has been poured, allow it to drain completely through the coffee bed. The total brew time, from the start of the bloom to the final drip, should be in the range of 2:30 to 3:30. If it's much faster, your grind is likely too coarse. If it's much slower, your grind is likely too fine.
Once the dripping stops, remove the dripper, give your carafe a swirl, and enjoy your delicious, handcrafted cup of coffee.