Brewing with a Moka Pot: The Ultimate Guide
Master the classic stovetop espresso maker. This guide provides step-by-step instructions for brewing strong, rich, and aromatic coffee with a Moka pot, plus tips to avoid common pitfalls.
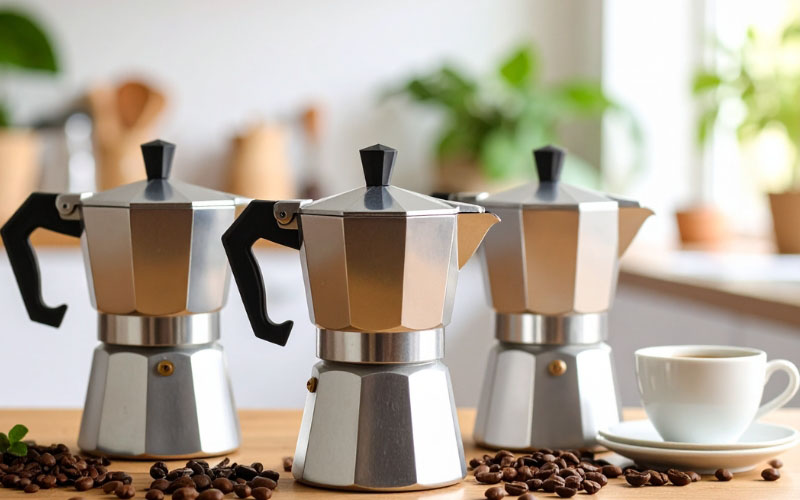
The Moka Pot: An Italian Icon
The Moka pot is a stovetop coffee maker that brews coffee by passing boiling, pressurized water through ground coffee. Invented in 1933 by Alfonso Bialetti, it has become an icon of Italian culture, found in kitchens all over the world. The coffee it produces is strong, intense, and aromatic—somewhere between a drip coffee and a true espresso.
While it's often called a "stovetop espresso maker," it doesn't create the same amount of pressure as a modern espresso machine, so the result is technically not espresso. However, it produces a rich, concentrated brew that can be enjoyed on its own or used as a base for drinks like lattes and Americanos.
Mastering the Moka pot can be tricky. It's easy to produce a coffee that is bitter and metallic if you're not careful. This guide will walk you through the steps to get a delicious, balanced brew every time.
How to Brew with a Moka Pot
Yields: Varies by pot size Total Time: ~5 Minutes
You Will Need:
- A Moka pot
- A burr grinder
- A kettle
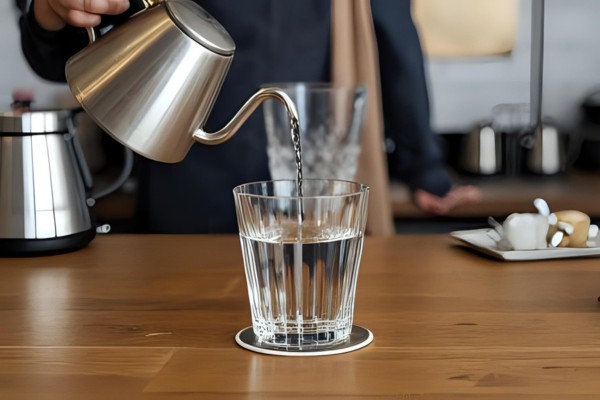
Step 1: Fill the Bottom Chamber
Unscrew the Moka pot. Fill the bottom chamber with hot, filtered water right up to the level of the safety valve. Using hot water from a kettle, rather than cold water, is a crucial tip. It significantly reduces the amount of time the pot spends on the stove, which prevents the coffee grounds from getting too hot and "cooking," which is a major cause of bitterness.
Step 2: Add the Coffee
Fill the filter basket with medium-fine ground coffee. The grind should be finer than for drip coffee but coarser than for espresso. If it's too fine, the water will struggle to get through, creating too much pressure. Our Ultimate Grinding Guide can help you find the right size.
Level the grounds with your finger, but do not tamp them down. Tamping the coffee, like you would for an espresso machine, can create too much pressure and lead to a bitter, over-extracted brew.
Step 3: Assemble and Heat
Place the filter basket into the bottom chamber. Screw the top chamber on tightly, using an oven mitt or towel to hold the hot base. Be careful not to overtighten.
Place the Moka pot on your stove over medium-low heat. If you're using a gas stove, make sure the flame is not larger than the base of the pot. Using a lower heat is another key to preventing a bitter taste.
Step 4: The Brew
After a few minutes, the coffee will begin to flow into the top chamber. You should hear a gentle hissing sound. If it's sputtering or coming out very quickly, your heat is too high.
The coffee will get progressively lighter in color. Once the stream is a light, honey-yellow color and you hear a gurgling sound, the extraction is complete. Immediately remove the pot from the heat. Don't wait for the pot to stop gurgling, as this final stage of the extraction only adds bitterness.
Step 5: Cool and Serve
This is the final pro tip to prevent over-extraction. Run the bottom chamber of the Moka pot under cold tap water. This halts the brewing process instantly and prevents a metallic taste from developing.
Pour your freshly brewed Moka coffee into your cup and enjoy. By following these steps—using hot water, not tamping, using low heat, and cooling the pot at the end—you'll be able to brew a rich, balanced, and delicious cup every time.